
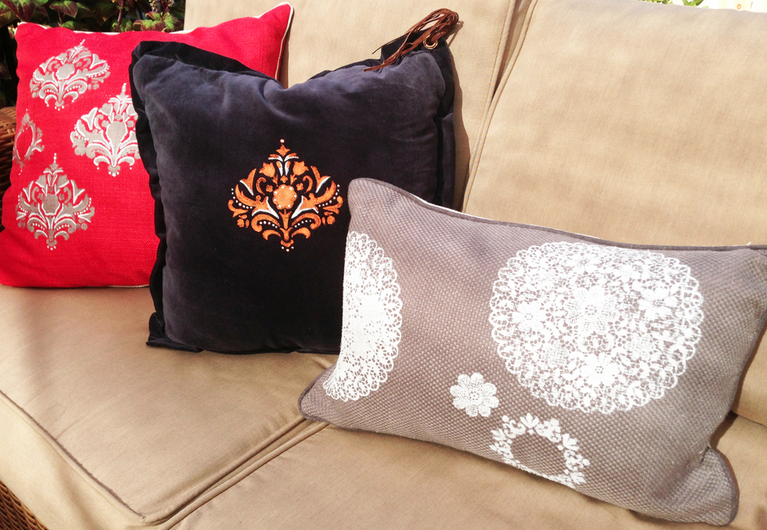
Accent pillows are a must in any room with furniture that might require them. Expand your decorative options by designing your own throw pillows in hardly any time and with minimal supplies. This project we found on Lilyshop is simple and will have your room looking beautiful and customized in a matter of hours!
Supplies:
· Throw pillow with a zip cover
· Stencil(s) of your choice
· Fabric paint
· Sponge brush
· Stencil spray adhesive (if your stencil is not a sticker)
Directions:
1. Place the zip cover on a flat surface without the pillow inside. To avoid an ink mess, put cardboard inside of the pillowcase. This will prevent any fabric paint from bleeding onto unwanted areas.
2. After gently peeling the sticker stencil, place it onto the desired area of the zip cover and apply pressure. If your stencil is not a sticker, spray a thin coat of the stencil adhesive to the pillow case and apply the stencil.
3. Blot the paint onto the stencil with your sponge brush. If you brush on the fabric paint in a sweeping motion, it will get under the stencil and disfigure the design.
4. After the stencil has been thoroughly coated in paint, you may remove it from the zip case by slowly peeling it off. Once removed, rinse the stencil in warm water to allow reuse.
5. Allow the zip cover to sir for 12 hours before covering your pillow.
One great thing about fabric paint is that if you make a mistake, you can rinse it off (if it’s still wet) and start over! So have fun with this project and create something that you will be proud to display in your home!
No comments yet.