

Sometimes the smallest decorative details are what give a room the greatest amount of character. When used correctly, small pops of color or patterns tend to draw in the eye and make a space more aesthetically interesting. One way to add a little pinch of spice to your room is by covering the light switch plates in a fun fabric. Here’s how:
Supplies:
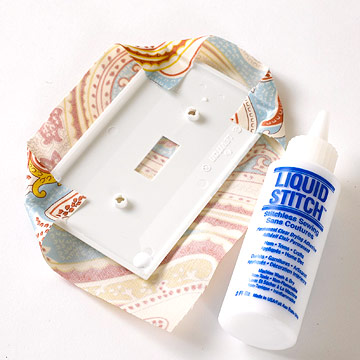
Light switch plate
Fabric of your choice (tightly woven is recommended)
Peel-and-stick tape
Fabric glue
Scissors
Awl (small pointed tool that is used to pierce holes)
Instructions:
1. Cut the fabric one half inch wider than the light switch plate on each side.
2. On the front of the switch plate, place pieces of tape around all sides of the opening and the plate itself.
3. Place your switch plate face down in the middle of the fabric, making sure all sides of excess fabric measure even.
4. In each corner on the back of the switch plate, place a dot of glue. Fold each corner of the fabric back until they have stuck to the glue and let it dry.
5. Once the corners have dried, dab glue along the outer back edges of the light switch plate, folding the excess fabric tightly over until it has stuck to the glue and allow it to dry.
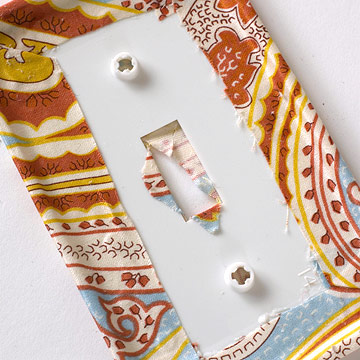
6. To create the opening, on the back side of the plate cut an X in the fabric that is covering the hole.
7. Put glue around the edge of the opening on the back side of the plate and fold the fabric back until it has stuck to the glue, and let it dry.
8. Using the awl, cut two holes in the switch plate for the screws. One hole will be cut right above the opening, and one just below.
Use a different fabric on each light switch plate in your home to give every room its own festive element!
No comments yet.