
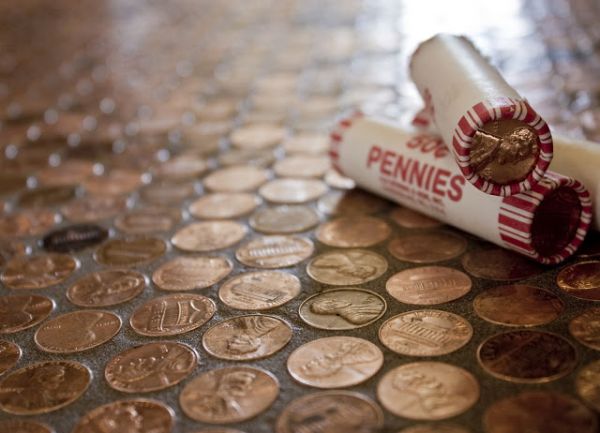
Have you recently considered new flooring for your bathroom or kitchen? Instead of tile or wood, what if you created a floor made completely out of pennies? This fun project from Homedit allows you to create your own design for your floor or even the backsplash in your kitchen. You can do a interesting pattern or lay them down randomly; both will create a warm and unique look in your home.
I know that the looks of this project can be intimidating, but the payoff is more than worth it. We are going to break it down for you so that you’ll be able to see just how easy it is to accomplish.
Clear the Floor – First, you’ll need to remove the entire room’s base molding. Once that is finished, measure out the dimensions of your room.
Sand and Clean the Floor – Once all of that is cleared out of the way, you will need an even surface. Use a sander to make your surface level and use cement to fill any cracks. Once it is even, use a mild detergent to scrub the floor so it is squeaky-clean and let it dry.
Cut Out Your Fiberglass – Buy the self-sticking fiberglass and cut it into squares. These tiles need to all be the same size; you’ll be able to figure out how many you need and the sizing based off your room measurements.
Stick Those Pennies – This is where you can come up with a design or stick them randomly. It can be very tedious to stick each penny on the fiberglass, but you are getting close to the finish!
Chalk It Out – Using a chalk line, measure out the room and create a checkered grid pattern for the fiberglass tiles on the floor.
Placing – Starting at the back of the room, apply clear adhesive to a chalked out square and then place the tile on the adhesive and press down firmly. Continue this process with each tile.
Grout It – Once all your tiles are laid out, begin mixing grout with water and spread it over the entirety of the room to fill in the cracks between the pennies.
Wait – Once the floor has sat for 72 hours you can then mix a clear epoxy with UV blocker and pour over your floor to give it a beautiful finish!
No comments yet.