
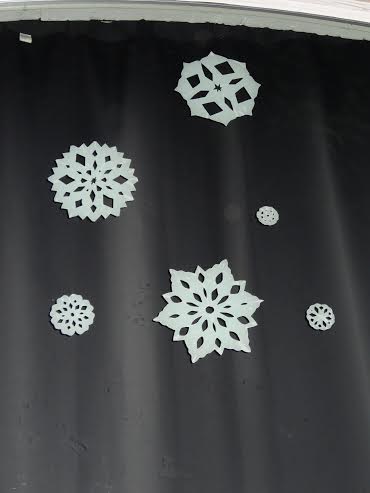
Remember making paper snowflakes when you were a kid? If so, you can now use those same skills to create beautiful window decorations and it is so easy that your kids can help!
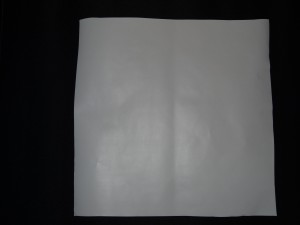
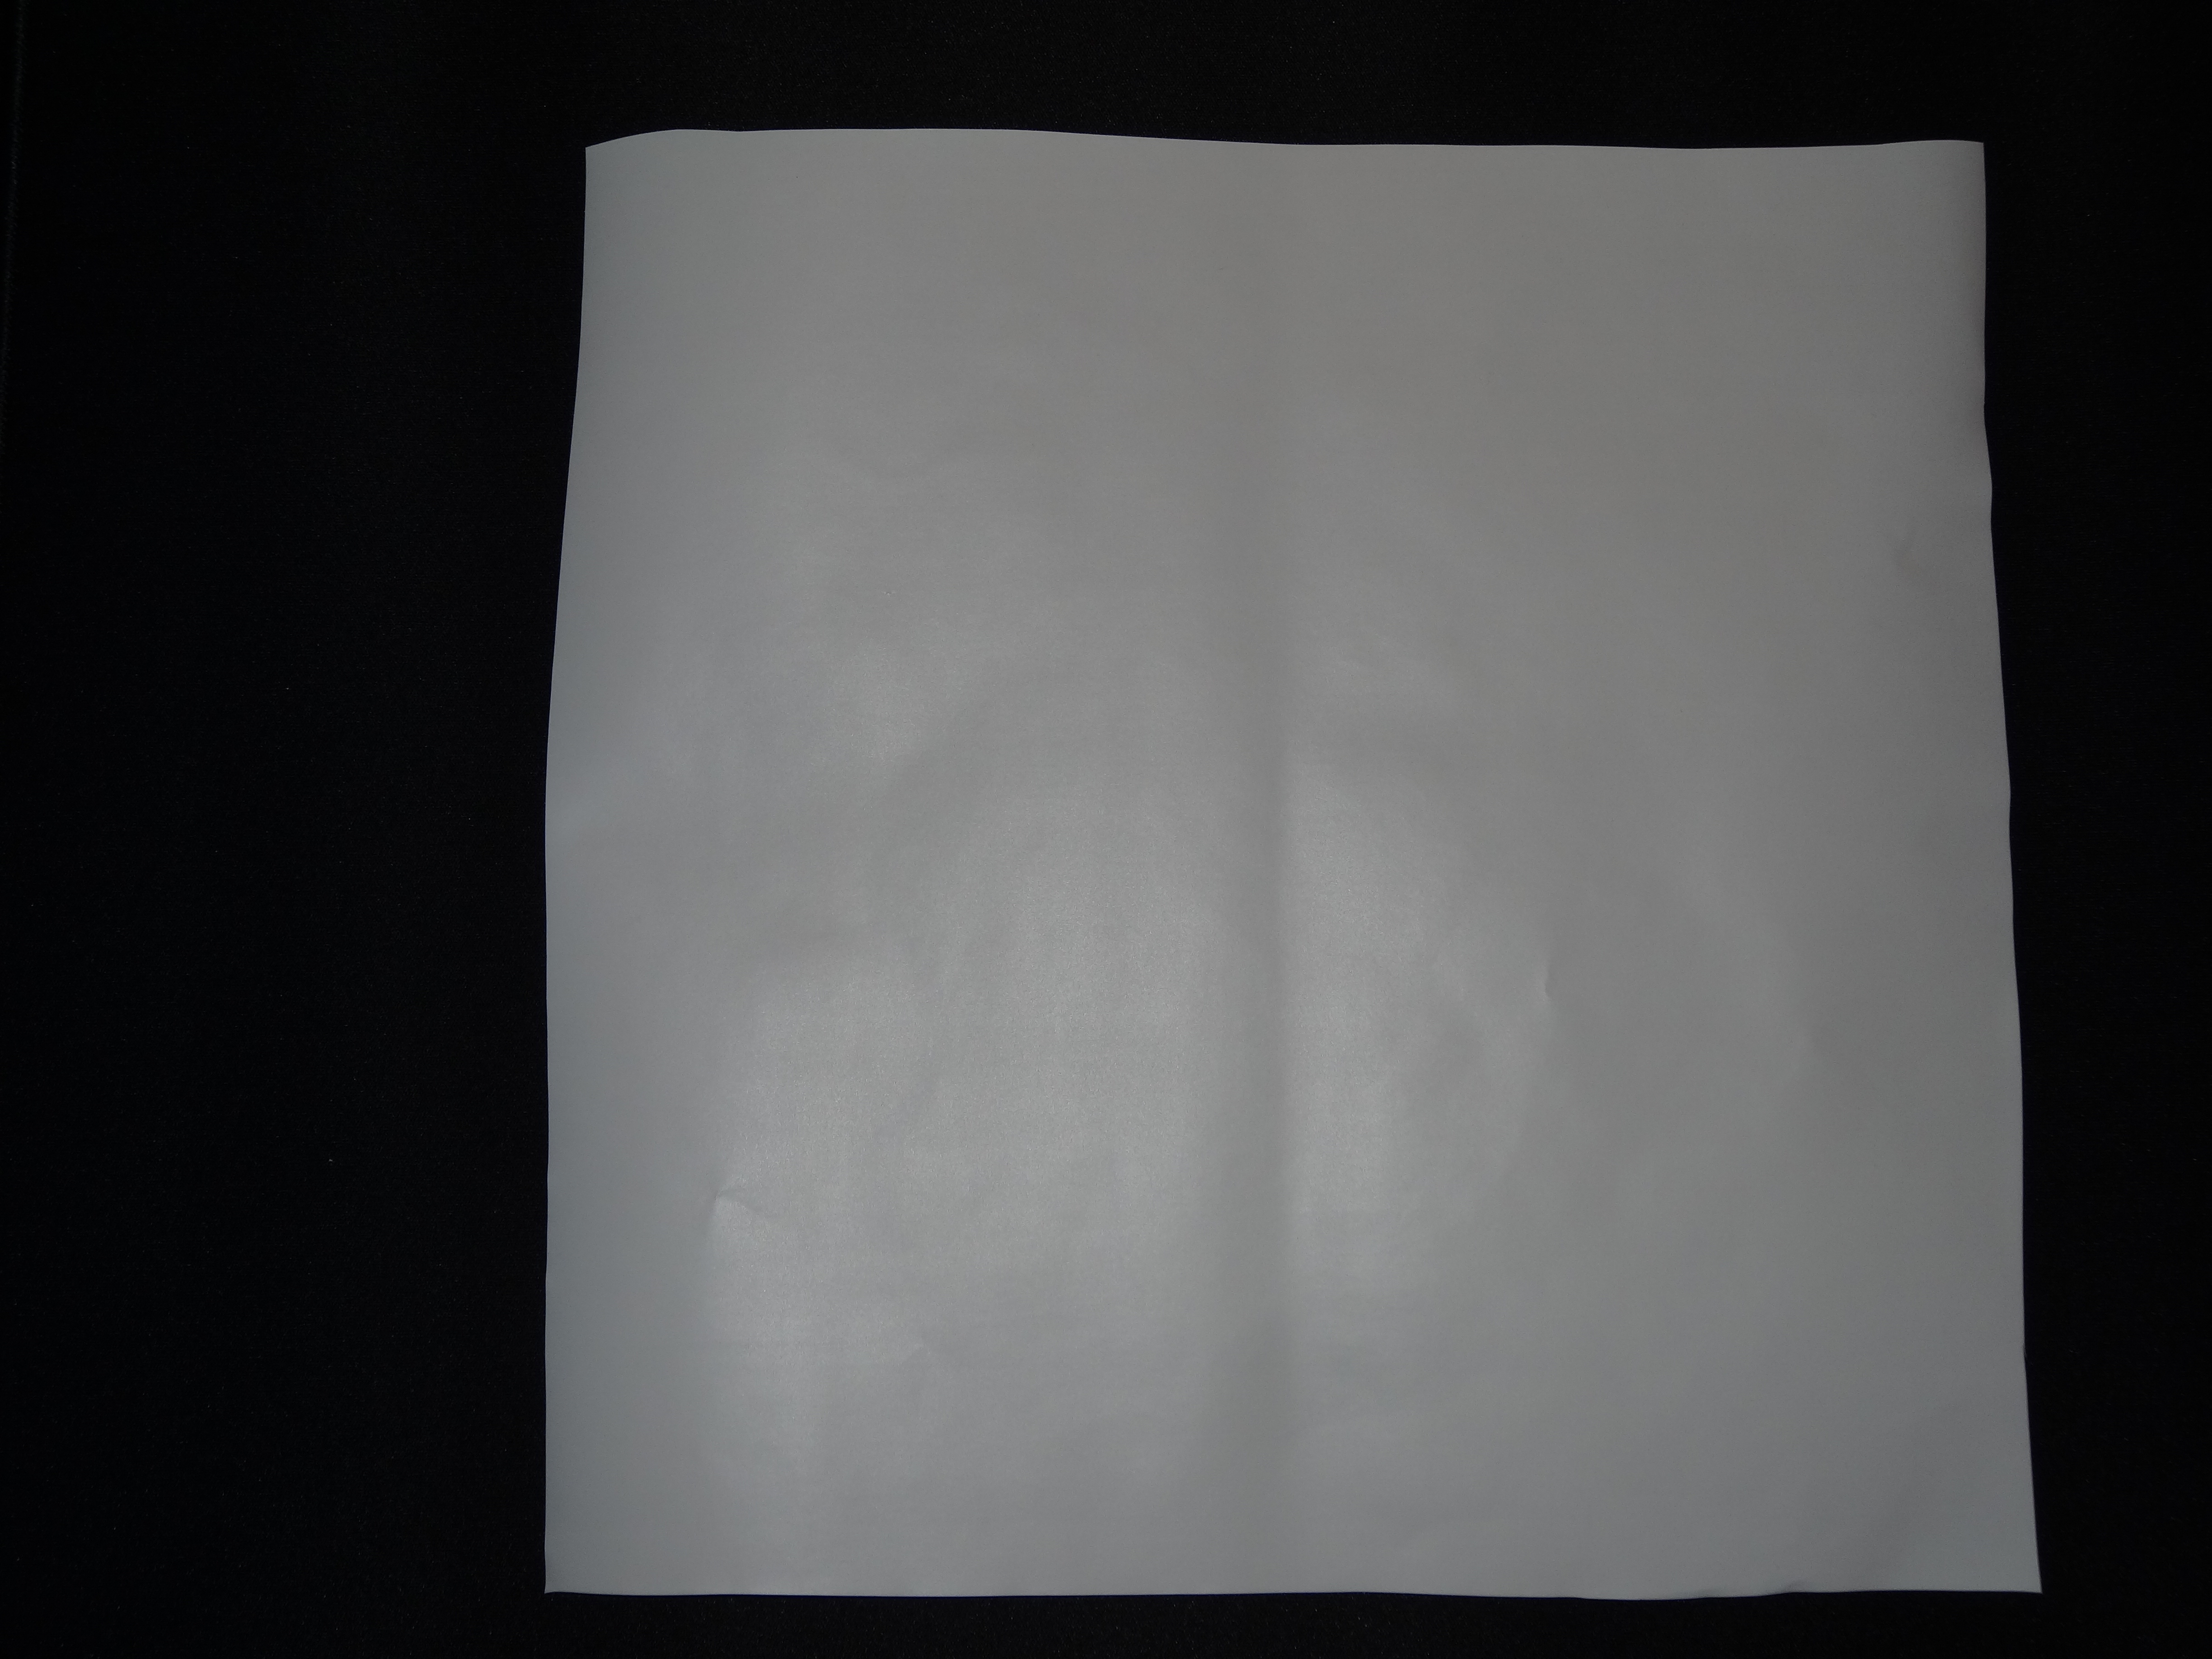
Instead of using regular paper you’ll start with contact paper. You can get the self-adhesive decorative paper in a variety of colors and patterns online or in a craft or hobby store. I chose to go with plain white because, well, they are snowflakes, and because I wanted the decorations to look the same from the inside and the outside of the windows.
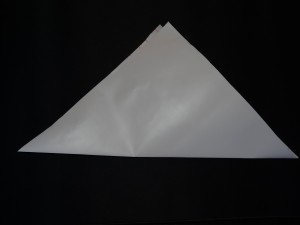
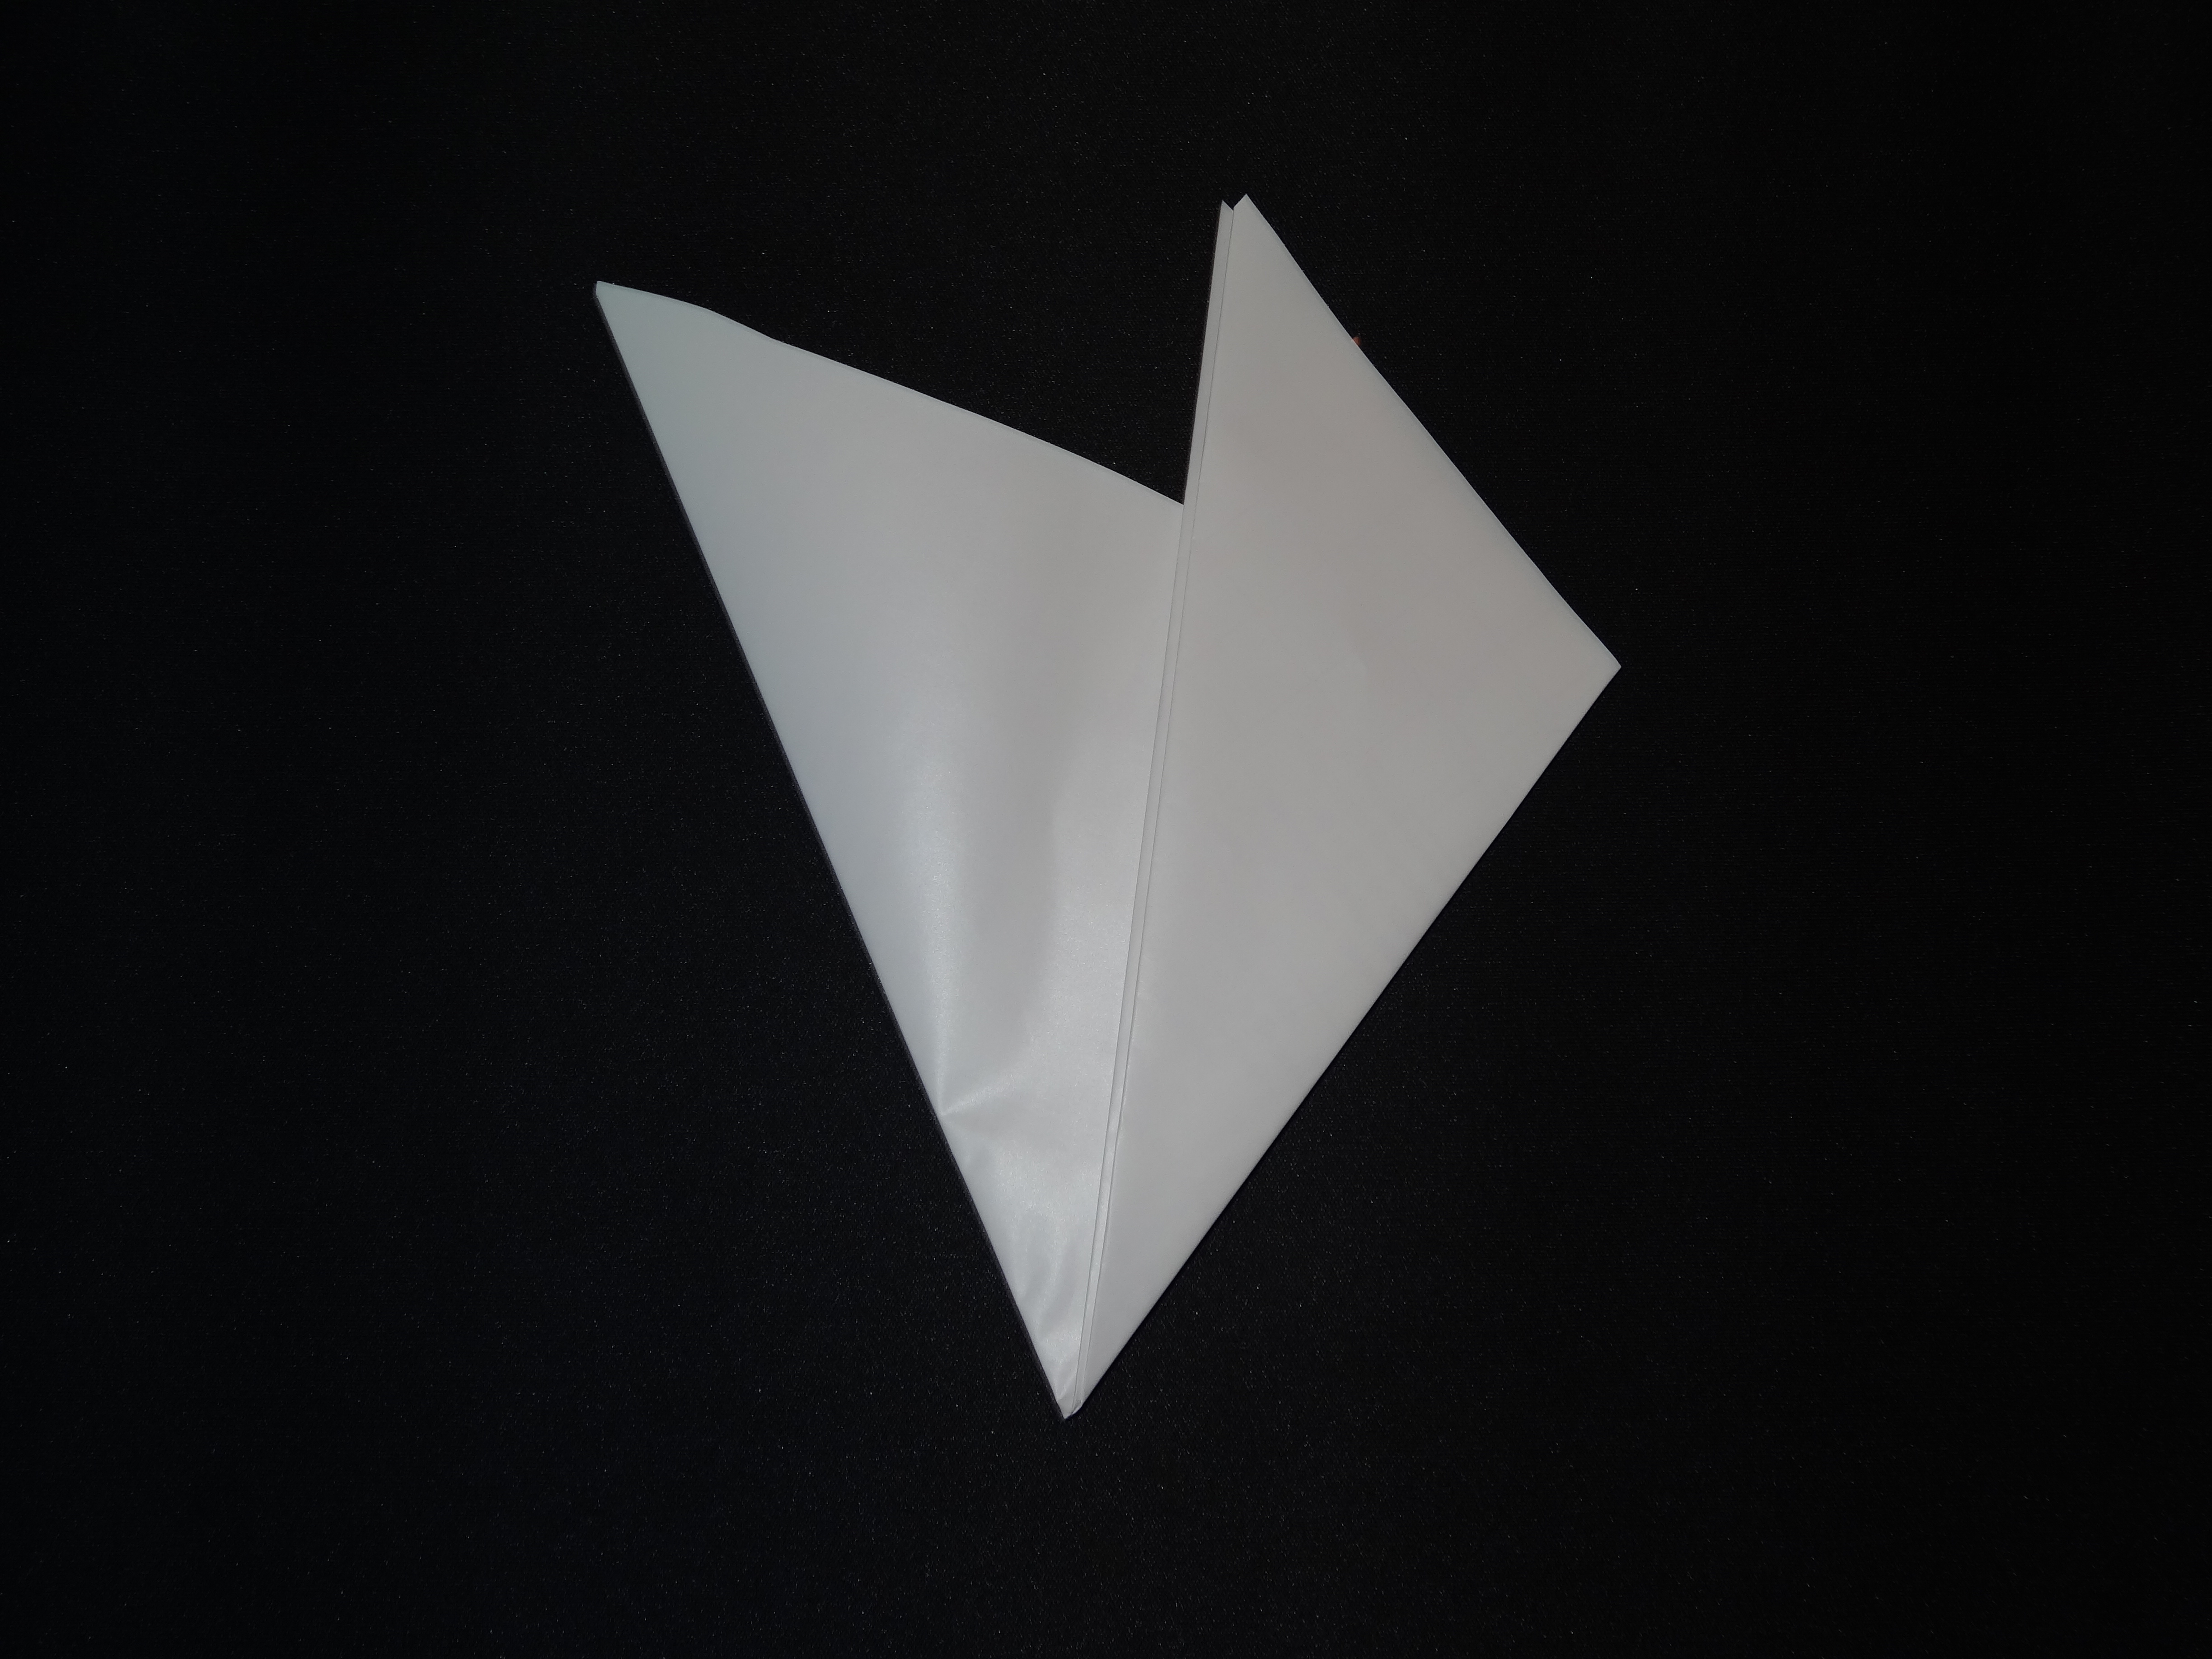
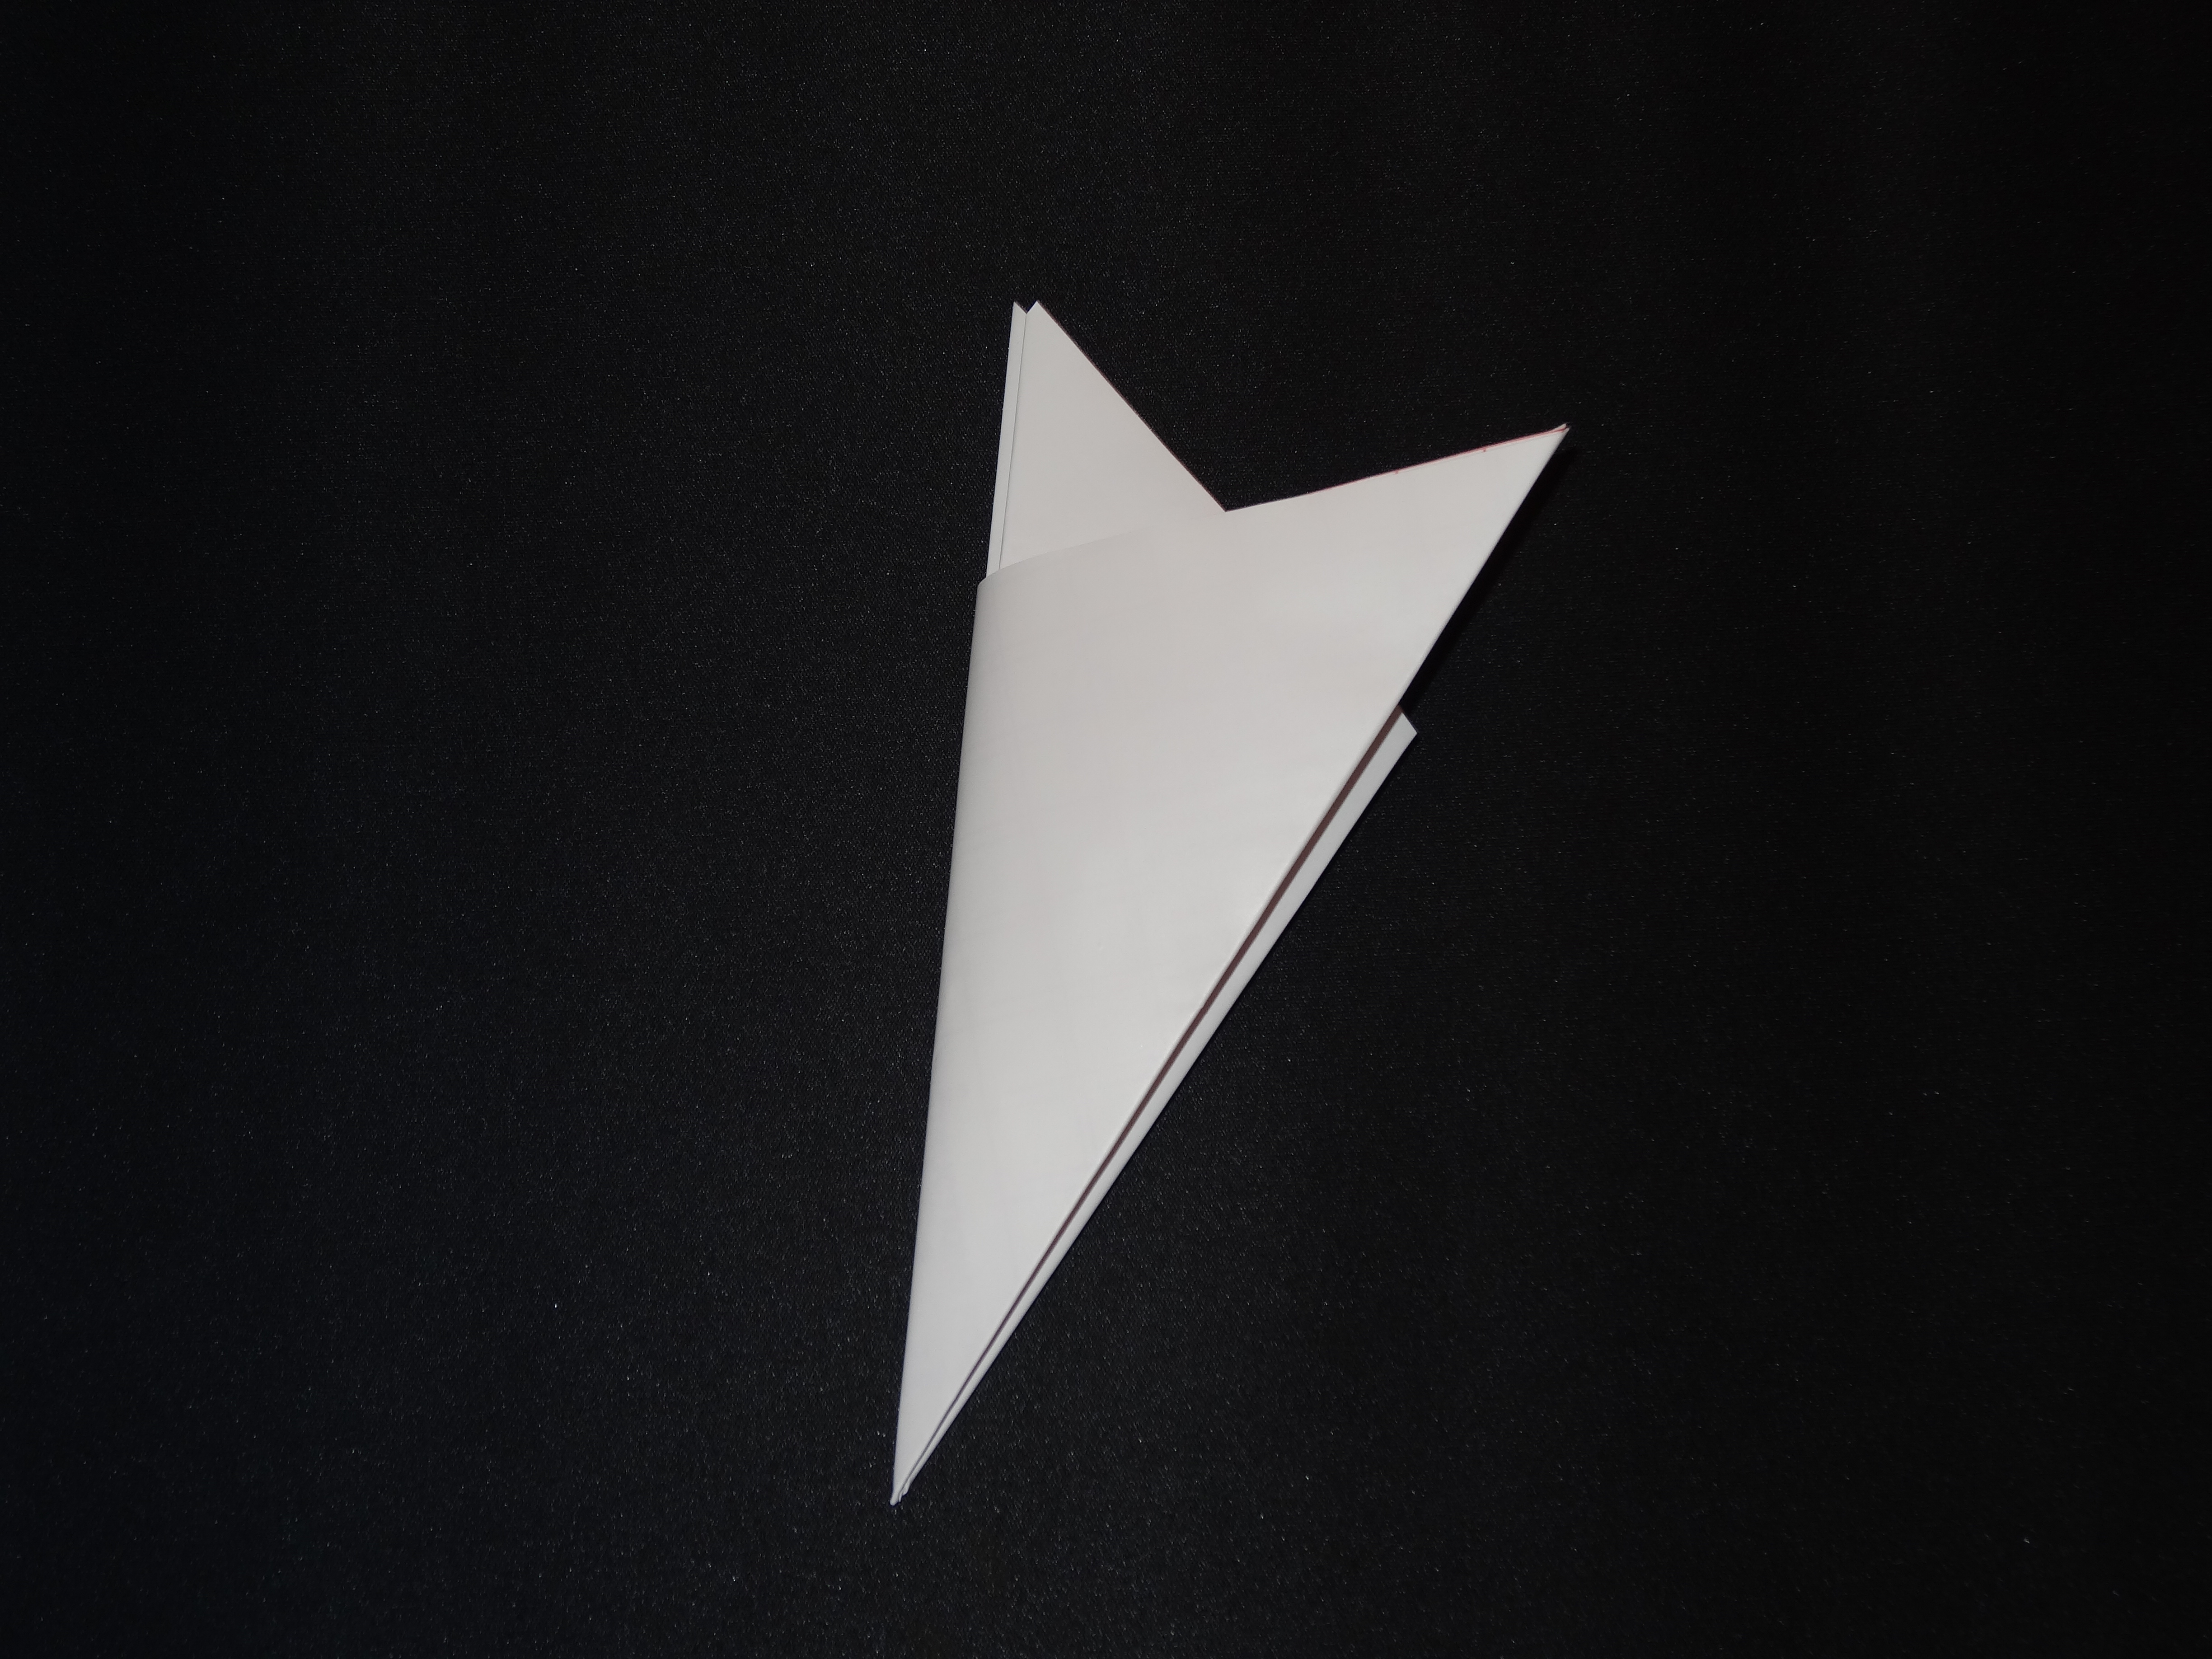
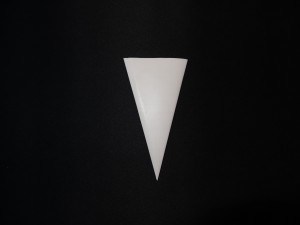
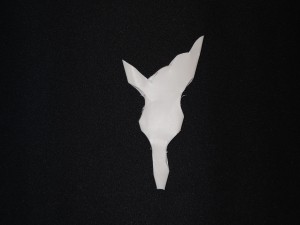
Once you’ve got your contact paper, cut out a square that is slightly larger than you want your snowflake to be. Next fold the square in half along the diagonal so that it makes a triangle. Now fold the triangle in half again so that it makes a smaller triangle. You should fold this smaller triangle into thirds so that one fold overlaps the other. Flip your folded paper over and trim off the two points so that you’re left with the shape of an ice cream cone.

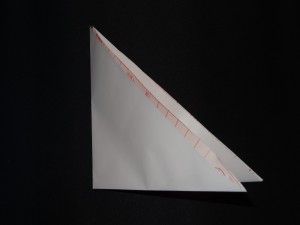


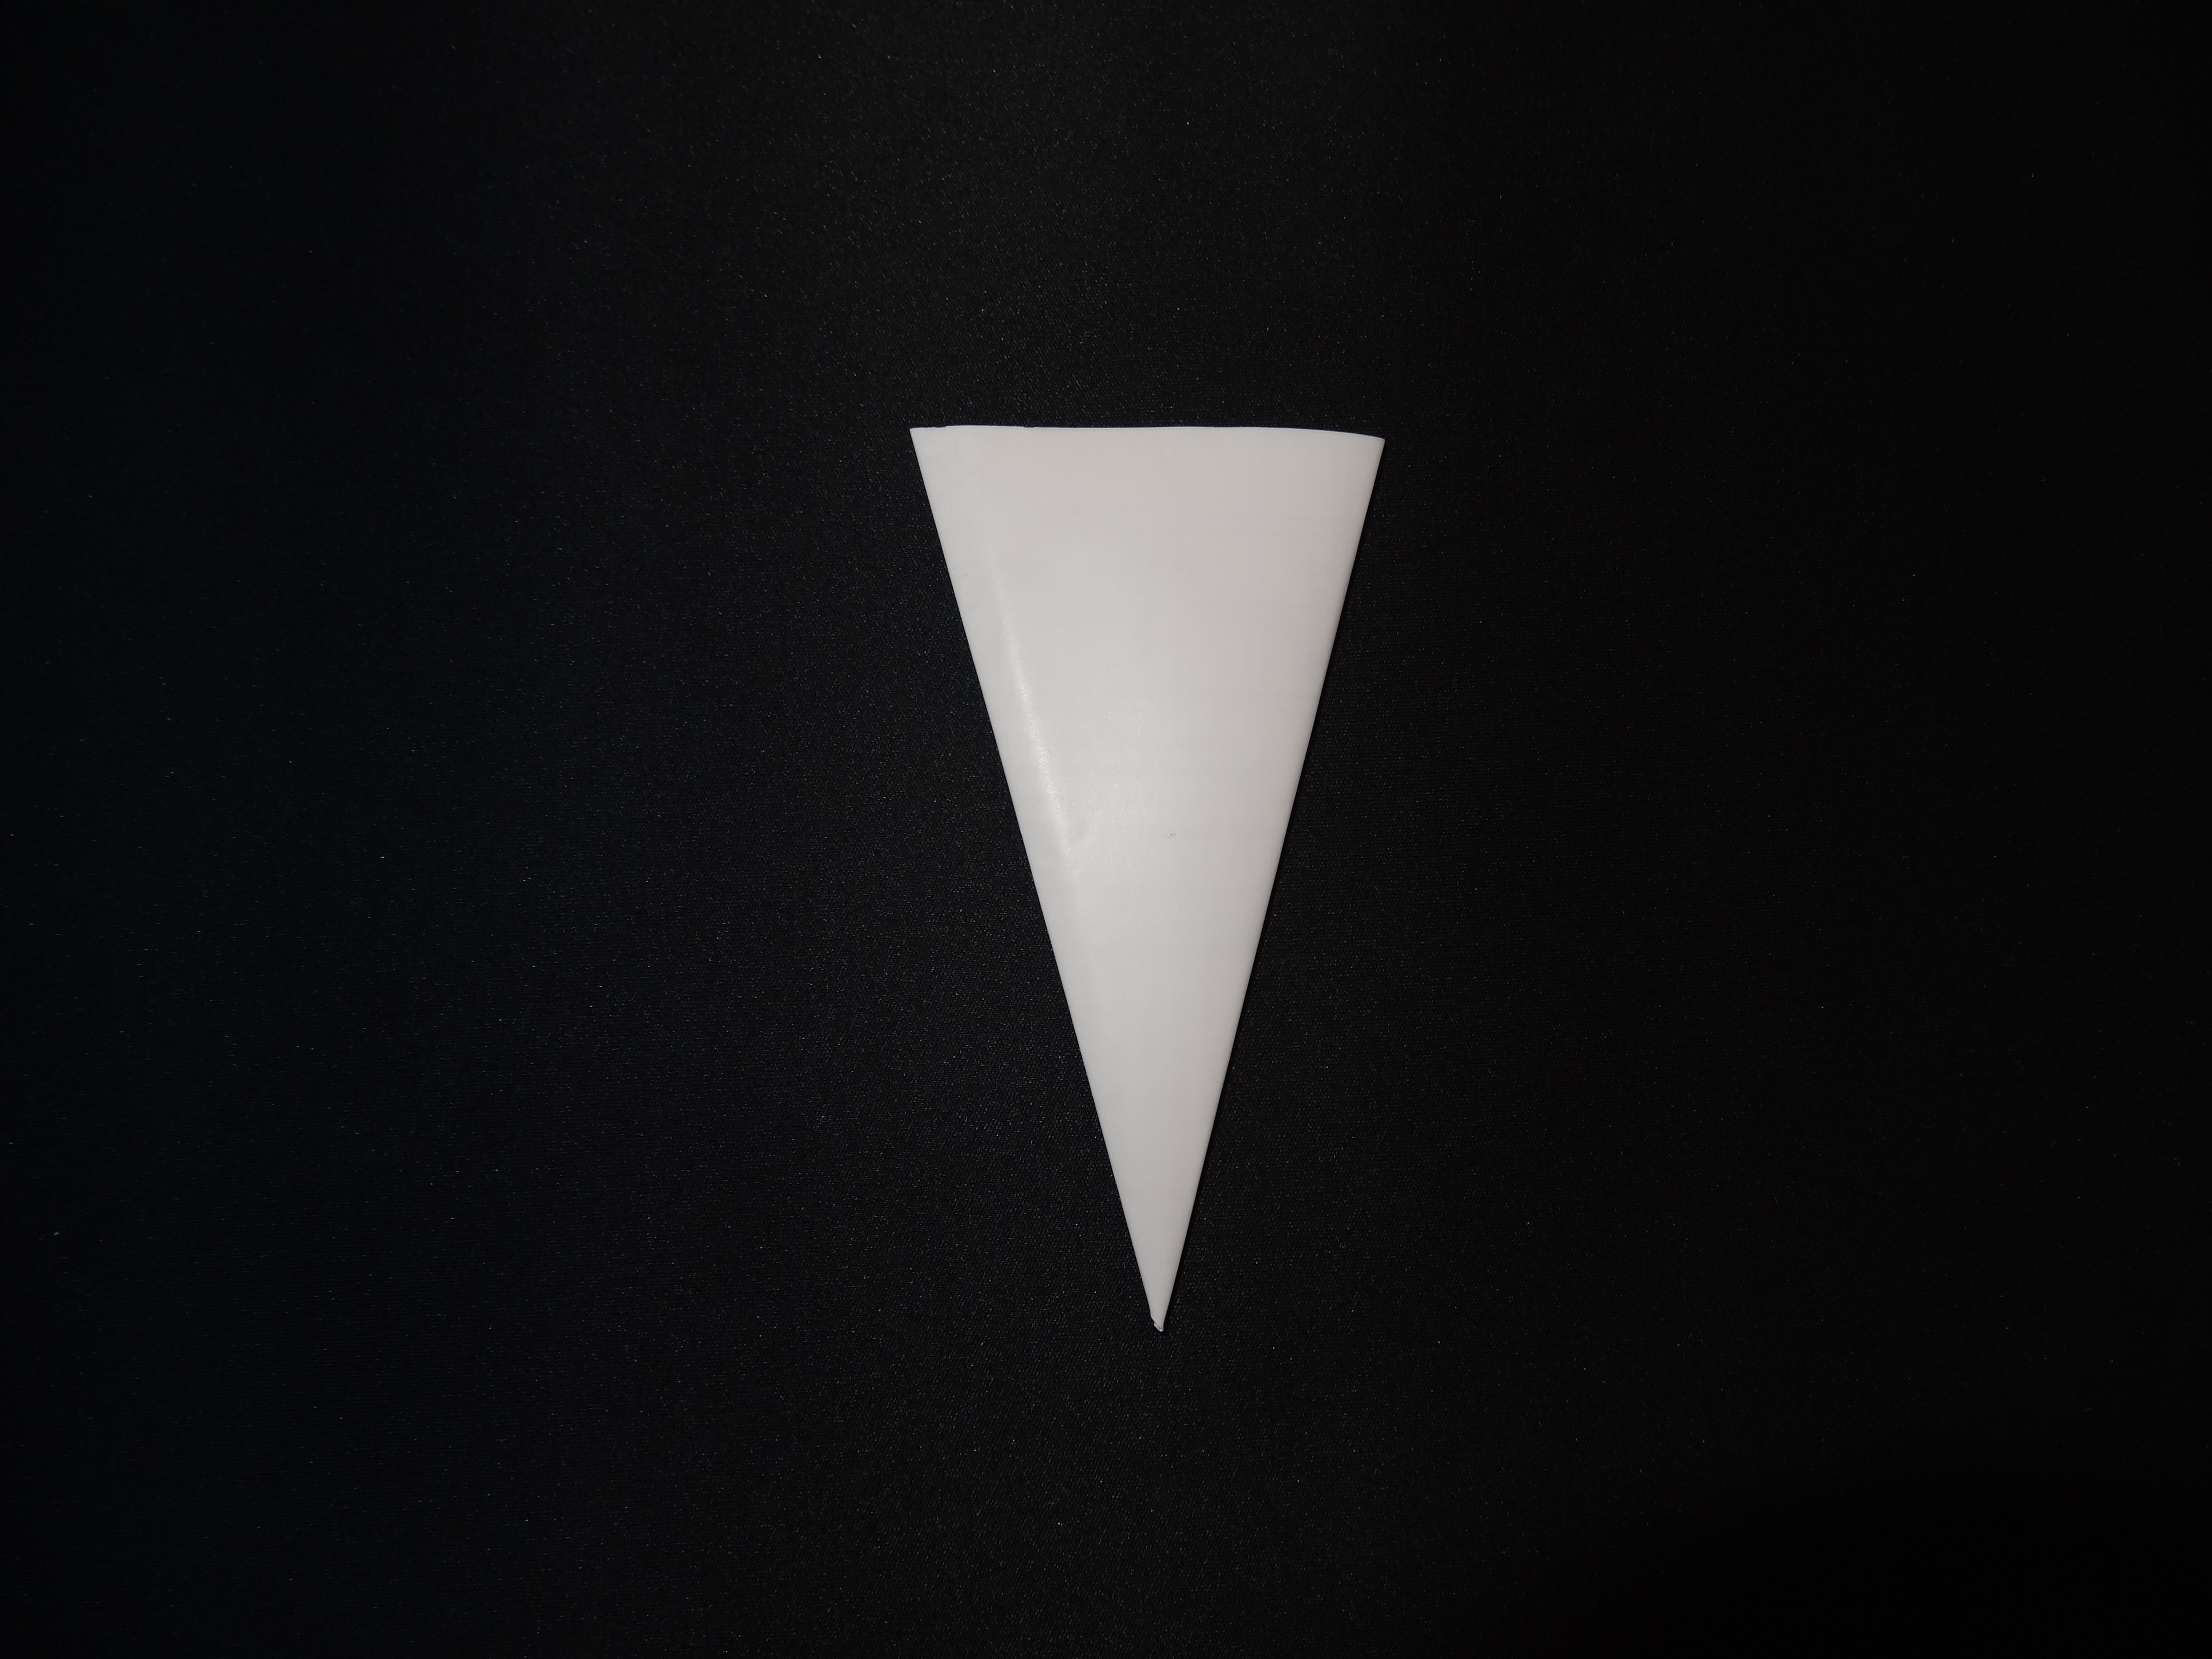
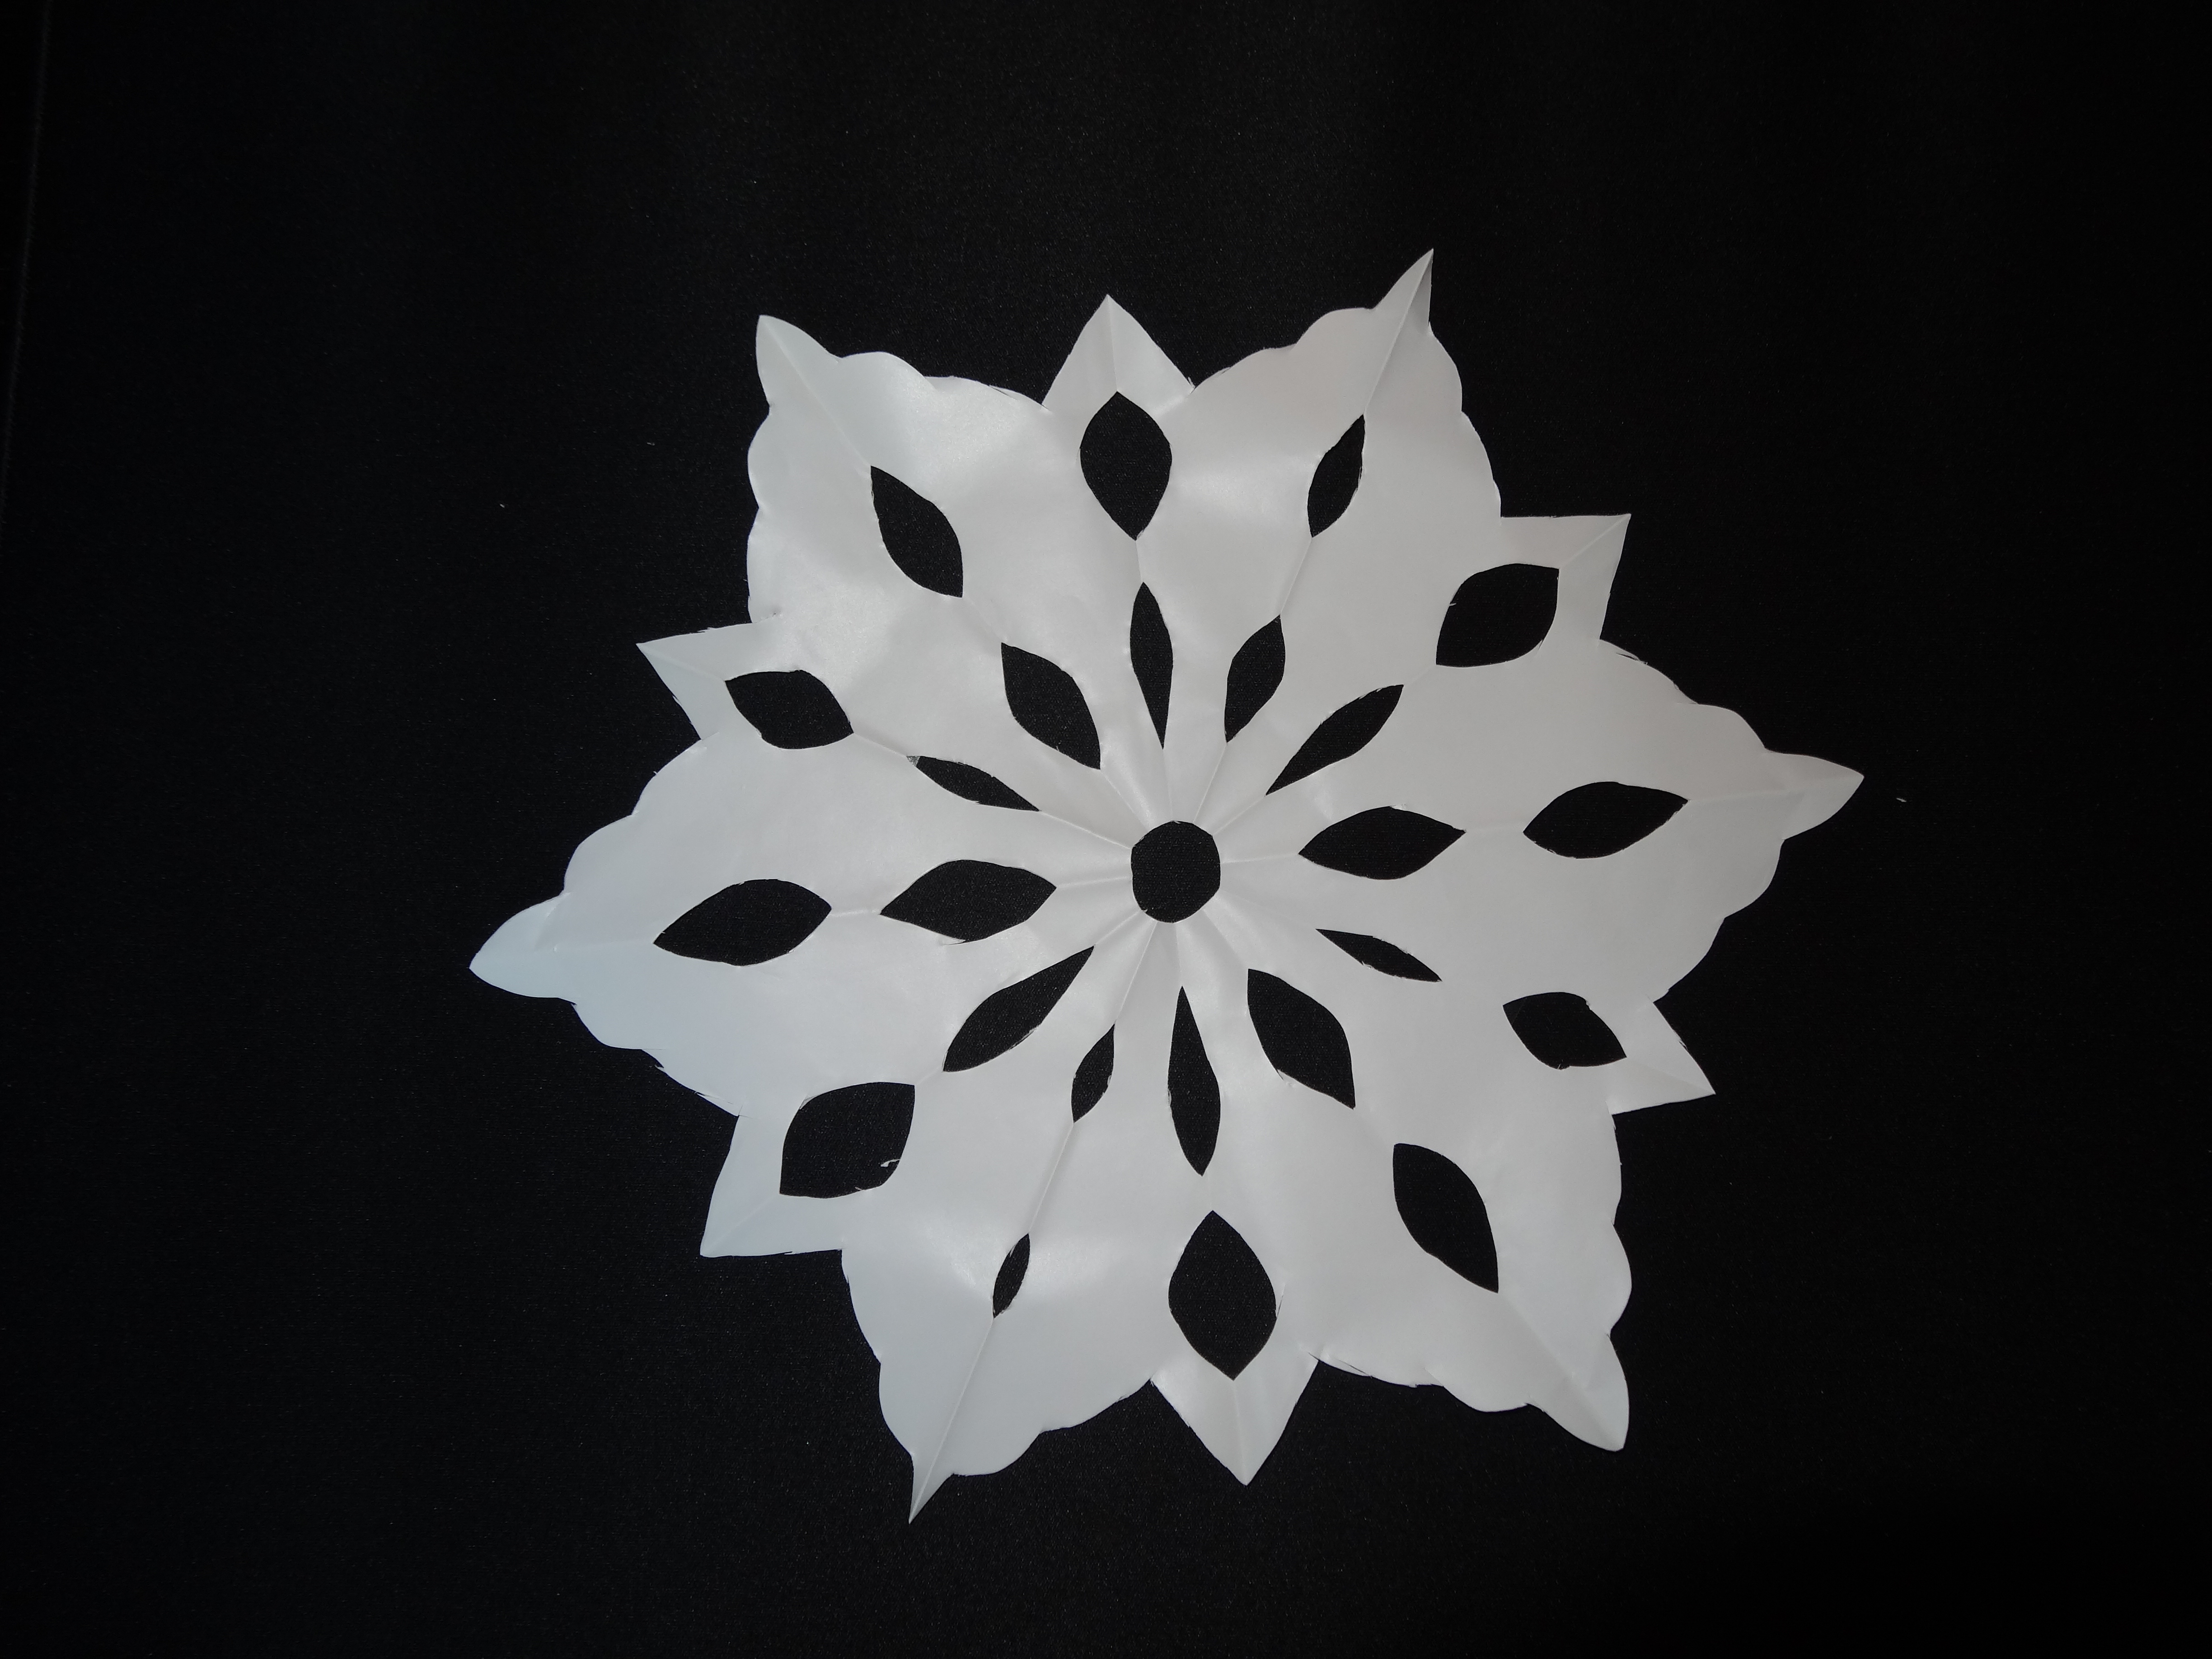
Next comes the fun part. Cut into the folds on both sides and the top. Use a variety of shapes to make each snowflake unique, but be sure not to cut all the way through the triangle. You can even snip off the point of your triangle if you want to have an opening at the center of your snowflake.

Once you are done cutting, unfold the triangle, peel off the adhesive backing on the contact paper, and apply it to your window. Voila! You have the beginnings of a winter wonderland! If you want to save your creations for next year simply stick them onto wax paper when you remove them from your windows and store them with the rest of your holiday decorations.

Contributed by Shanna
No comments yet.